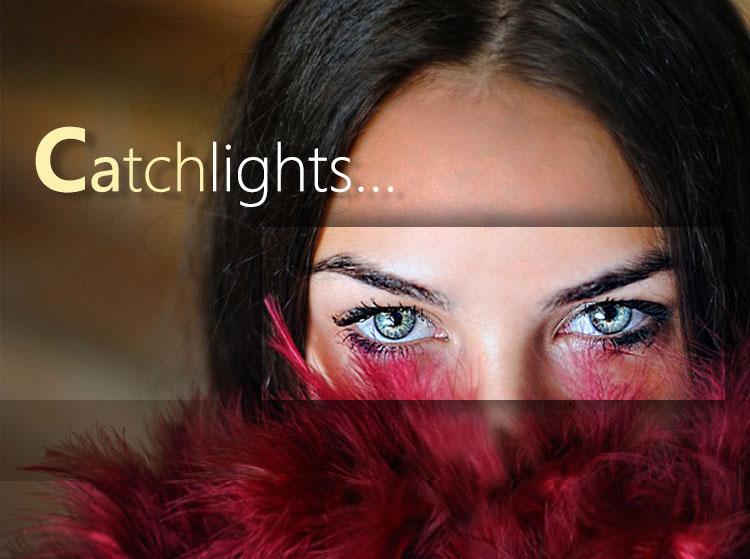
Catchlights are a great thing to have in a portrait. Simply saying, catchlights is the little sparkle that reflects off the surface of the eyes from the existing lights around it. Eyes are the window of the soul. When it shines, it gives any subject a depth and dimension of its own and helps to brightens it up. From the viewers’ perspective it helps to draws in attention to highlight the eyes. Catchlights helps to enhance any photo from an emotional perspective as well as photographers view. On the contrary if a photograph lacks catchlights on any picture it might looks somewhat dull. You can add catchlights using Photoshop. To make it works make them look natural and realistic.
In this article we are going to learn how to add this amazing feature to your photo.
We’ll create catchlights with diffused edges. For this technique it is a best practice to use two separate layers, one for the glow and the other for the sparkle of catchlights. By choosing two separate layers, you can manipulate the catchlights to achieve an innate look.

1 Click the Brush tool 
2 Click the Zoom tool and zoom in on the eye area. ![]()
3 Click the Brush Preset drop-down menu and select a soft-edged brush, with the Hardness slider at 0%.
4 Click Opacity in the Options bar and drag to the left to reduce the brush opacity to 40%.
5 Press D to reset the foreground and background colors.
6 Press X to reverse the colors, making white the foreground color.

7 Press the left or right bracket keys to adjust the brush size to be slightly larger than the final catchlight.
8 Click the New Layer button to add a new empty layer.
9 Click once in each eye to create the catchlights.
10 Click the Brush Preset drop-down menu to change to a hard-edged brush.
11 Click Opacity in the Options bar and drag to the right to 100%.
12 Click the Layer Mask button to add a layer mask.

13 Click the Switch Colors icon to make black the foreground color.
14 Paint over the top of the catchlight so that it conforms to the upper eyelid.
15 Click Opacity and drag to the left to reduce the layer opacity to about 70% to slightly better blend the effect.
16 Click the New Layer button.

17 Press X if necessary, to make white the foreground color.
18 Press the left bracket key multiple times to reduce the brush size to about half the previous size.
19 Click once in the center of each catchlight.
20 Click Filter.
21Click Blur.
22 Click Gaussian Blur.The Gaussian Blur dialog box appears.
23 Click and drag the Radius slider to soften the edges.
24 Click OK.A soft-edged catchlight with a sparklein the center appears in each eye.
Important!
The catchlights must correspond to the natural direction of the light to appear natural. If the light is coming from the right, the catchlights should be on the right side of the pupils, just slightly above the center.
More Options!
You can refine the catchlights more by viewing the whole face at once. Press Option+spacebar (Alt+spacebar) and click to zoom out. Click and drag the Opacity slider for each of the catchlight layers until you see a bright sparkle with a natural diffused edge.
Read one more on Catchlight: