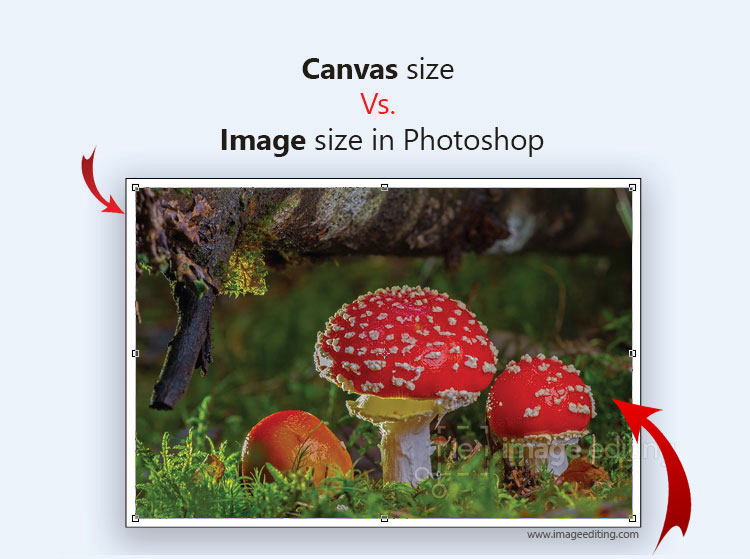
In this tutorial we are going to look at the differences between the canvas size and the image size. Canvas size and image size may sound similar but they modify the image in two different ways.
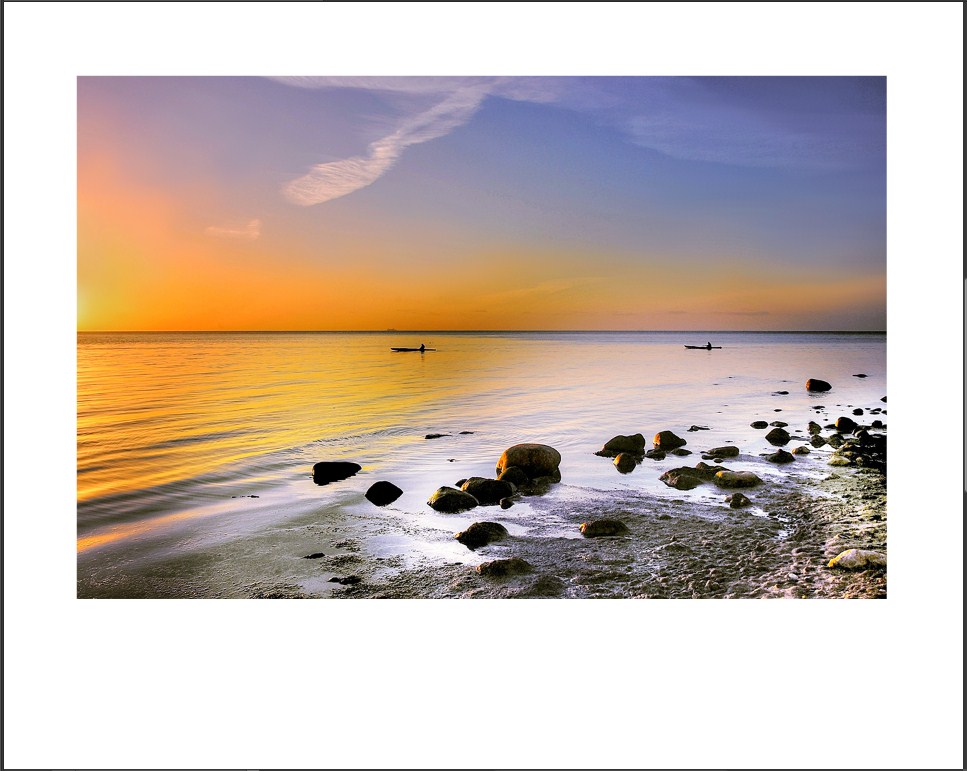
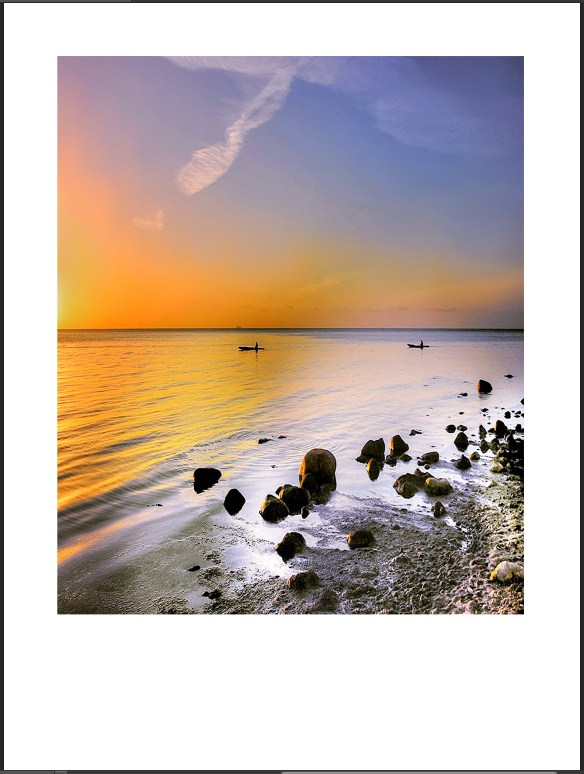
When you alter the canvas size of an image, you either increase or decrease the amount of area of the image canvas. This means that adding to the canvas size will add blank area around the image. On the contrary, decreasing the canvas size will result in the image being cropped, meaning you will lose some of the image depending on where you crop it.
Conversely, when you modify the image size of an image, you change how larger or smaller the image is. When you increase the size of an image it may appear larger and may look blurry if expanded too much. Similarly, when you will decrease the image size it will reduce in size and in the process it will lose some detail. So if you want to crop a section of an image or add more area to it, simply change the canvas size. If you want to reduce, expand, or change the resolution of an image, adjust the image size.
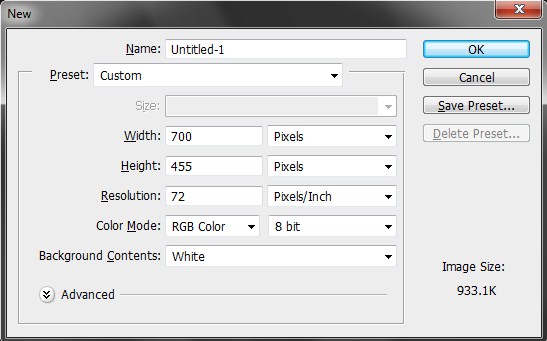
Let’s see how they effect on an image in the following section. Go to the menu bar- File and select New to create a document. Click OK and you will be seeing a canvas here.
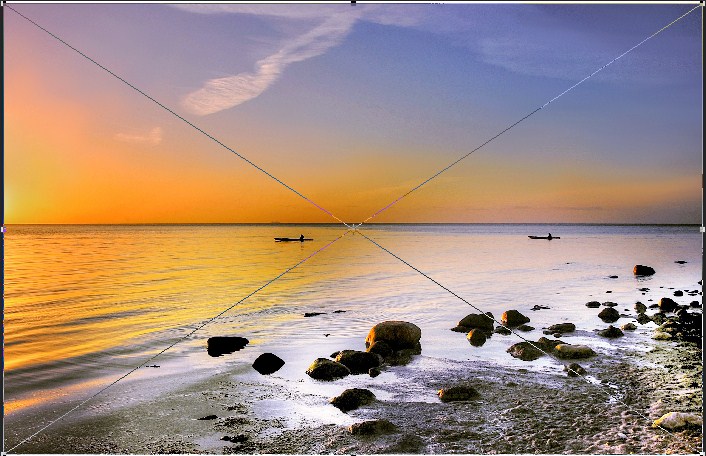
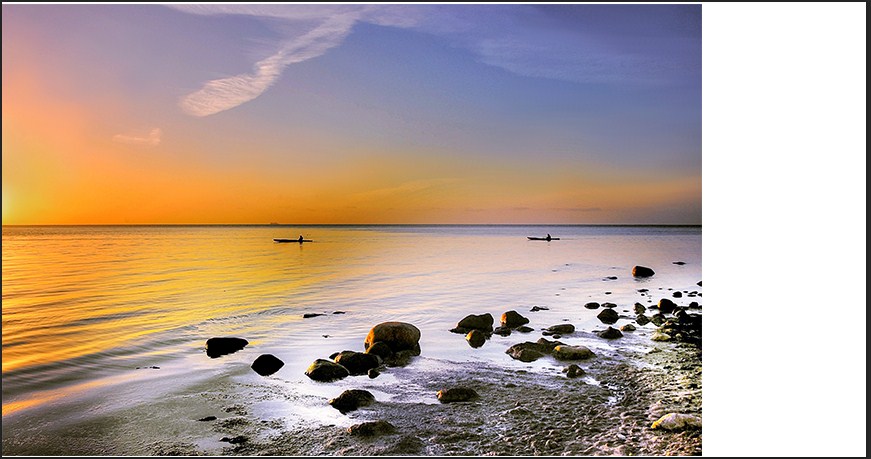
Now drag the image from your device to place it on the New Document and place enter.
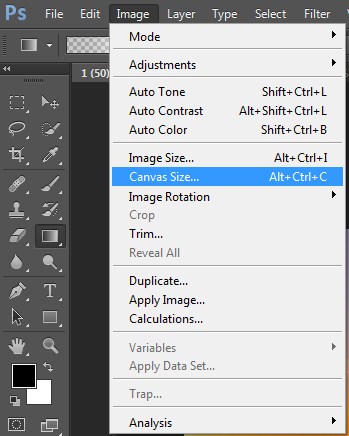
From here, go to Image and select Canvas Size.
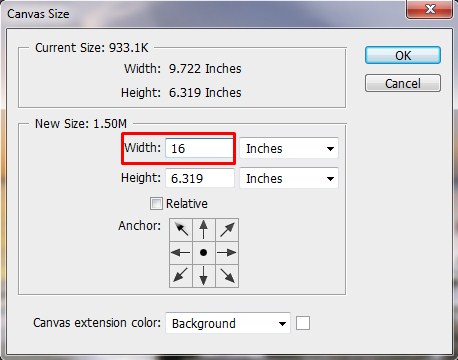
From this field we are able to change the dimension of our canvas size. Let’s just say we put here 16 inches in the space of width and click OK. Now you can see the width has been expanded from both sides.
It’s better to go back to the previous state to see the changes we will be making. For this to happen press Ctrl + Z. So, again if we go to Image and select Canvas Size and we change the height measurement to 10 inches and press OK. You will notice the height of the canvas has also been changed. If you have observed this only changes the canvas size but not the image size. For the time being we will be focusing on the canvas size only.
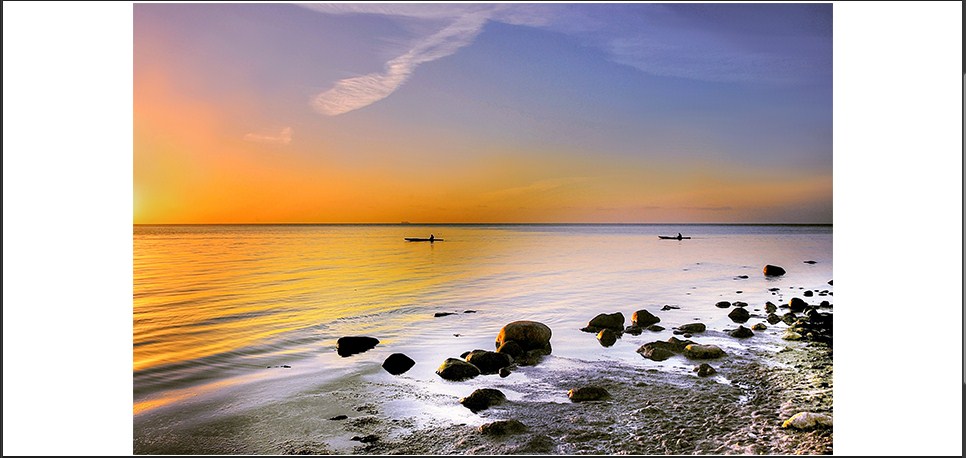
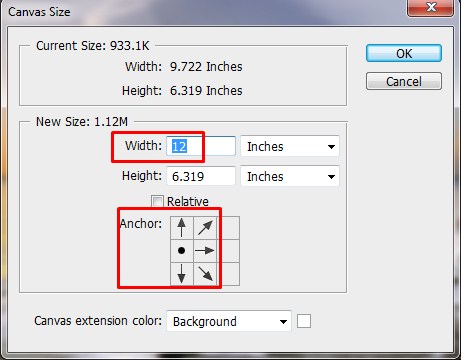
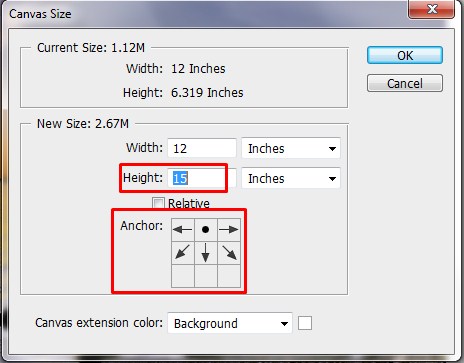
Again press Ctrl + Z on your keyboard. Select the canvas size one more time. Now if we want to work on a particular side we can shift the arrow sign to the very left, as you can have expect this will only have effect on the right side of the canvas. Let’s say for example change the width size to 12 inches and select OK. You will see that the left side of the canvas has been expanded only while the right side of the canvas remains the same.
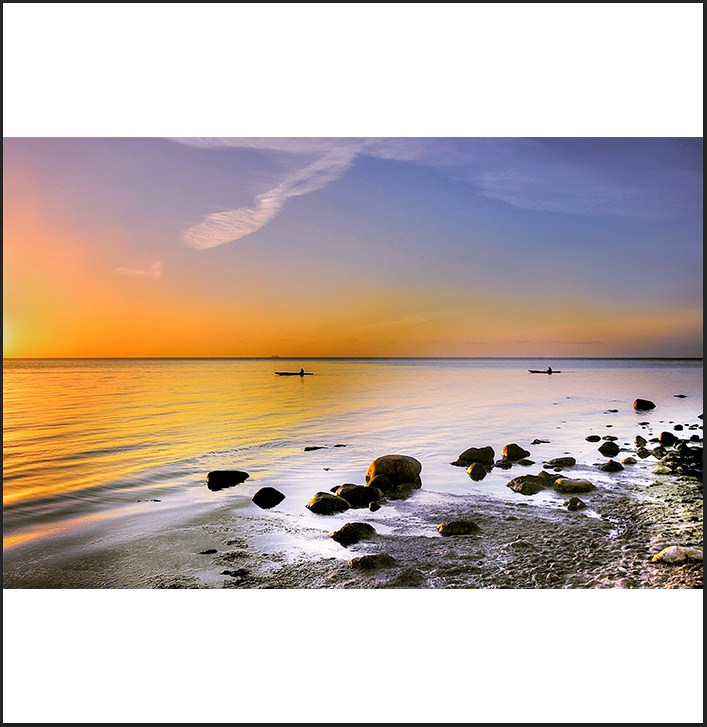
Let’s keep that this way, no need to press Ctrl + Z for this instant. If we select the canvas size again and we select the arrow sign to up and change the height of the canvas to 15 inches and select OK. This time you will see the height has also been expanded on the bottom part.
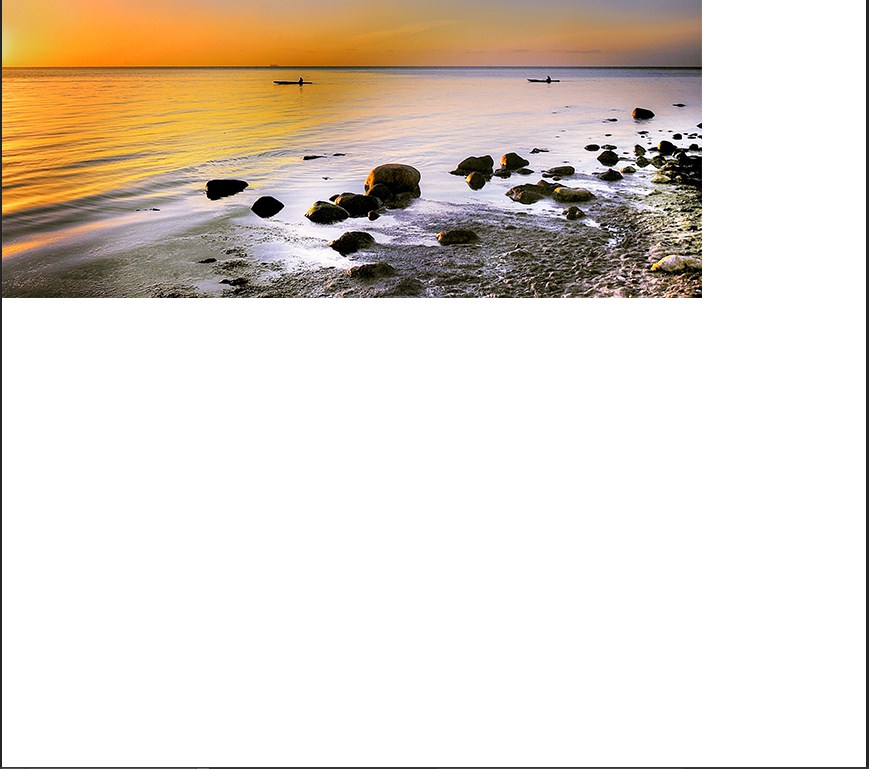
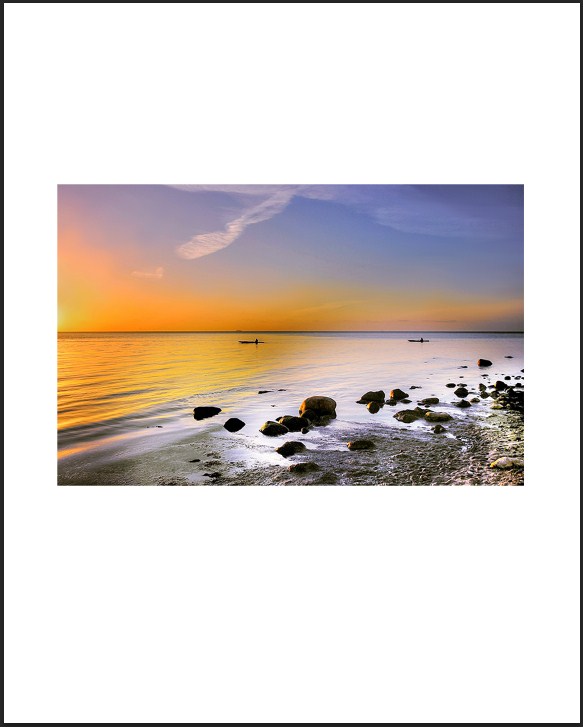
Zoom out by pressing Ctrl – (minus). We can do a fun part here; press Ctrl + T to move the image to show you the change we have made so far. After adjusting the image in the middle press enter to settle the image.
When dealing with actual image size, if we go to Image and select the Image Size. In this image size we can change the actual image. Notice that we have the option of Constrain Proportion selected. What it does is it keeps the aspect ratio of the image. So, if we put 2500 Pixels to the width you will see the height ratio will change simultaneously. If we select OK and we zoom out, you will see the changes have been applied.
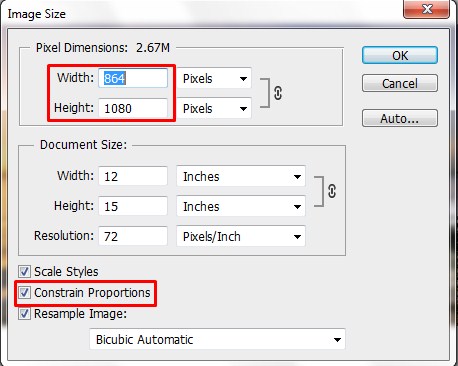
Just to show you another example: go back to image size. And this time if we don’t select the Constrain Proportion and if we only focus on height. Let’s just say we put in 2000 Pixels here if we select OK. You will see the image size has been shortened to the actual image size. Again if we go to the image and we focus only on the width and put on some value to the width number you will see the image has reduced its size from the side. This is all about canvas size and image size.Hope you have enjoyed this article.
Related Articles: