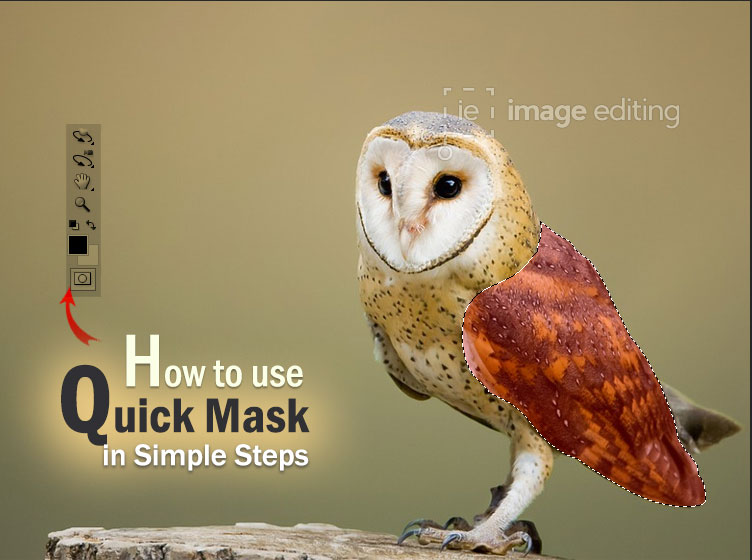
Here in this lesson I’m going to teach you how to use a quick mask. Basically, a quick mask is another way to get to a selection quickly. Learn just how useful and amazing quick mask really can be.
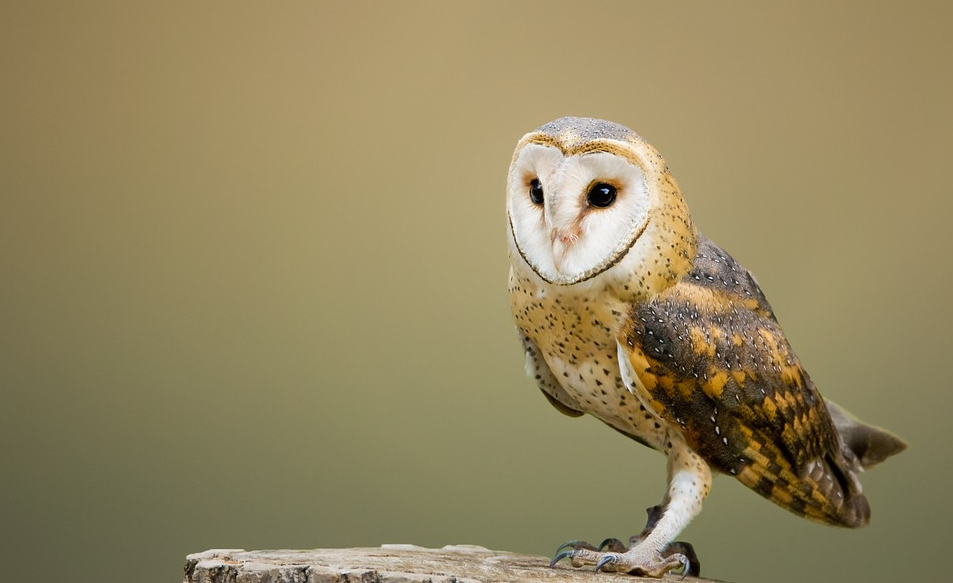
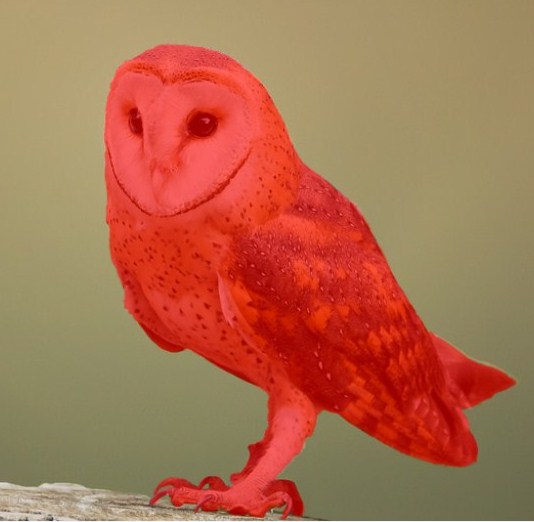
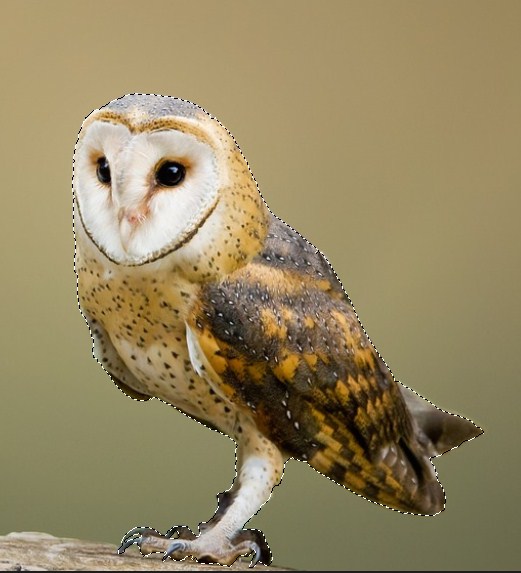
We’re going to look how to make a better selection using our brush tool. Soon we will combine the initial selection and select the quick mask mode and then use brush tools to refine it. So for today’s example I’d like to get a nice selection of this owl.
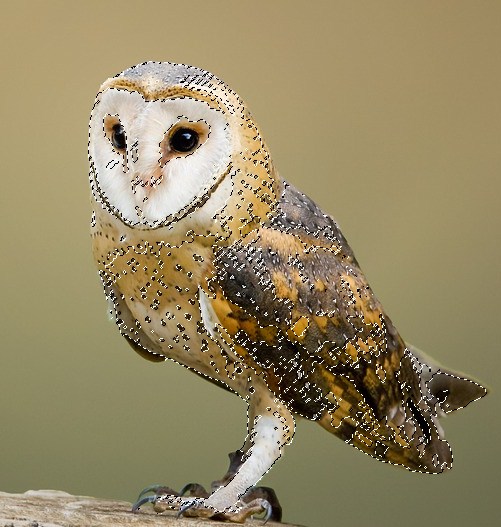
By using the magic wand tool we will get the part of the owl selected. If you hold down the shift key it’ll add to that selection. This does a pretty good job and attempts to isolate itself to just the parts that we click on but eventually it will grow and pick up more pixel details. If there are some parts of the image that we don’t want get selected then holding down the option key and clicking will subtract the extra part. Let’s continue to add to the selection shift clicking, we go and we work our way through and that work pretty well.
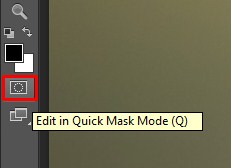
Now down at the bottom of the toolbox is the quick mask button. When you turn that on by clicking on it once, as we already had a selection it starts off with a mask based on the selection. The keyboard shortcut for Quick mask is Q. The red parts are masked out and the clear parts are the parts we’re going to keep. The red is kind of translucent so we can see what we’re doing and we control this mask with our brush tool.
Now, double click on the quick mask icon. This will open a tool options and a little dialog box that appears.
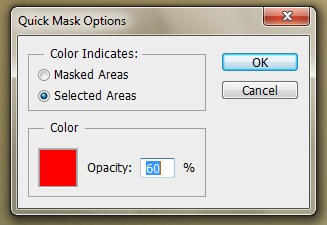
Masked Areas will be selected as a default option but we will be selecting Selected Areas. As the default option will select everything in the document except what you painted but with the Selected Areas selected whatever you paint over that’s what’s going to be selected.You can change the translucent red color if any way the subject has same red color that you are painting on. Otherwise leave it the way it is. Change the opacity of the quick mask to 60% to make it easier to see what’s hidden.
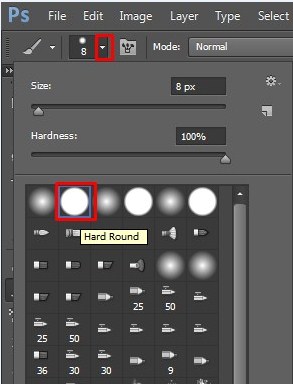
Choose the brush tool and then from the options bar we’re going to choose a hard-edged brush.
So what we’re going to do next is we use the little color swatches from the tool bar.
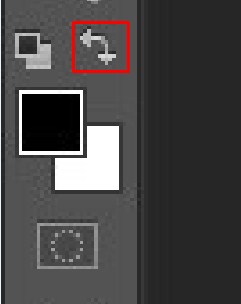
The little small curved arrow right next to the swatches switched the black and white back and forth. For shortcuts you can use the letter X on your keyboard. If you click on the swatch itself then it brings up the color picker now the color picker is not useful to us at this stage because we just need black and white so just click cancel on this.
For our purpose we will stick with the curved arrow to switch between black and white. But still accidentally or by mistake if the colors were selected other than black and white then click on the very small black and white preset above the swatches. Press them and it will put them back to normal very quickly. Or by simply using D on the keyboard you can load the default colors.
Black will add a mask to it; you can see that by applying it on the owl, you will see this is adding the mask. As you would have guessed, if white is in the front it erases the mask. If you make a mistake while painting like painting to any excess area other than the owl then you simply press X to switch to black and just remove the mask from the area by painting over it.
So with a nice quick mask selected, the way to convert this into a selection is to go down and unclick the quick mask button in the bottom of the tool box as before. You can see it’s converted that into a selection. Still if you find any mistake or left out place so you can go back into quick mask mode and fix that. With the brush tool fix the loop holes up then go out of quick mask mode by clicking on the quick mask button. So now we could select the owl, copy and paste it into another picture or isolate the owl so that we could change just it.
Now what if we want the background selected instead of the owl. Well under the Select menu there’s a command called inverse and that just makes the selection the opposite of what it is so now everything except the owl is selected.
You can add a Hue/Saturation adjustment layer here and change the color of the back ground. To more of a blue hue maybe you can desaturate them a little as well and have a little bit of fun with it the Hue/Saturation option.
Quick mask is a very easy way to get a selection especially on complex objects which otherwise would take forever to do using any other methods I hope you enjoyed doing it.
Related resources:
How to work with Quick Masks in Photoshop CS6
How to use Quick Mask in Photoshop/ Tricky Photoshop