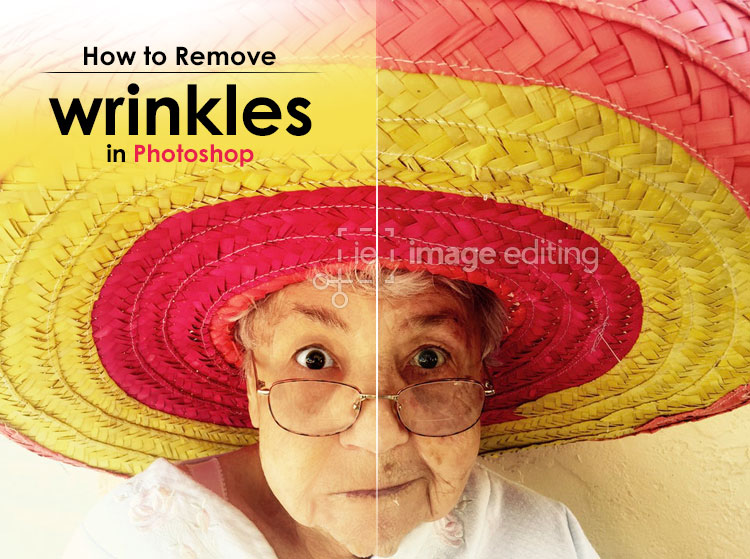
Removing wrinkles is one of those things we want to do in subtle manner in Photoshop. Let’s join us in this tutorial on how to remove wrinkles in Photoshop. For this type of work it is always best to work in duplicate layer. So, go ahead and create a new layer by clicking Create a new layer icon on the bottom of the layer panels. You can rename the layer or keep it as it is.
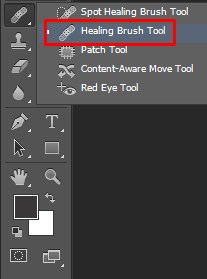
Select and hold down to the Spot healing brush tool panels and click healing brush tool.

Make sure the Mode is set to Normal. You have the soft edge brush with hardness set to zero percent. Make sure you have your brush size right. You want to have it a little bit larger than your wrinkle. At the top, Sample is selected and we have All Layers. As for the sampling, that’s important because we want to sample the bottom layer and not just the transparent layer that we just have.

Go ahead and let’s zoom in Ctrl or Command + on the photo. What we can do is remove some of the wrinkles. Click Alt or Opt + click down below the wrinkles to sample and then click on the mouse and drag over on top of the wrinkles. We want to sample often so I am going to Alt or Opt click below and click and drag over the wrinkles.As you can see there are way too many deep wrinkles on the image. Now if you hit the eye icon to see the visibility of the background layer you will see, this is our new layer and what’s on it. Now Photoshop will try to remove the wrinkles completely and that’s fine because we are working on a separate layer.
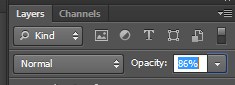
When you are finished removing all the wrinkles return back to the layer panel and change the opacity down if you think it’s too strong. This is to gain back some of the original details. There you go with the nice subtle effect and we are all done with this tool.

Shortcut: Hold down Alt or Opt + click under where you don’t have a wrinkles and then drag right over top of where you do have the wrinkle.
On the contrary, if you choose spot healing brush you can just immediately start painting with the tool. Photoshop will sample the spot for you. Again, as we are working on another layer we need to follow all the earlier procedure to continue with Spot healing Brush Tool. Enable Sample All layer option. Now you can drag over any of the wrinkles in the image to minimize. In this case, brush with the smaller stokes can help you achieve much more accurate look. Back at layers panel you can turn off or on the layer to see it before and after.
So these are the two techniques to remove wrinkles from your photo. Do apply these techniques in your project. Let us know which technique work best for you.
Related Articles:
How To Remove Wrinkles In Photoshop