Many times, when we capture a photo or download one from the internet, its background doesn’t suit our taste. Typically, you would be disappointed and cursing your luck for not knowing a powerful tool like Adobe Photoshop. But, don’t worry. You have GIMP.
GIMP, the free photo-editing tool, is one of the best alternatives to Photoshop. It offers several ways to remove the image background by making it transparent. However, one of the easiest and useful methods (you will know why) involves using layer masks.
Before we dive into the steps of using layer masks to clear the background, let’s briefly understand layer masks.
What are Layer Masks
Layer masks are used in image-editing to control the visibility of the layers present below a layer. Typically, you would delete a part of the image to reveal the underlying layer. But that’s what makes layer masks different. With them, you can hide or show certain parts of an image without actually removing other portions from it. Consider it as a non-destructive way to delete parts of an photo from your view.
Still confused? Let me explain through a real-life example. You know how when you paint something, you cover the areas with tape where you don’t want to paint. That way, you can easily paint the surface without worrying about other areas. That’s precisely the use of layer masks in digital editing — you hide areas on an image using masks without deleting them.
Further, layer masks help you in easily bringing back the surface that you have removed/hidden accidentally. That’s not possible with other techniques where you have to go through the tedious process of undoing it, and in some cases, start from the scratch itself.
Basic Types of Layer Masks
Mostly, you will work with two types of layer masks: white and black. When you add a layer mask, paint the surface with black color to hide the parts and use white color to show them. Remember it like this — black hides and white reveals for the current layer.
White Mask (Full Opacity)
When you add a white layer mask, you will not see any visual change on your image (except the layer mask in layer box). To use it (or to remove the mask), you need to paint the picture with black color. When you do so, the layer underlying your current layer will become visible. If there is no layer below it, then transparency will be revealed.
Painting the layer mask with black color will make it fully transparent. To control the transparency level, use other shades of gray. Use this mask when you want to hide just a small portion of the layer such as when removing the background of an image.
Black Mask (Full Transparency)
Adding a black mask will make your full image transparent. That is, your layer will go blank. To reveal the portions of your current layer (or to remove the mask), paint it with a white brush. That will make the pixels on the current layer visible to you. The black mask comes handy when you want to hide most of the layer revealing only a portion of it.
In short, when you have a white mask, use black color to reveal the background and when you have a black layer, use white color to show the current layer.
Now that you know the basics of layer masks, let’s see how to remove the background using them.
How to Remove Image Background in GIMP
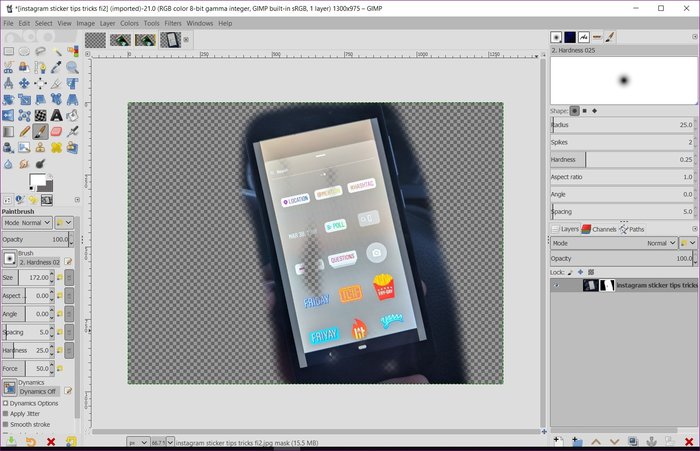
Step 1: Open the image in GIMP whose background you want to remove using File > Open option.
Tip: Use the shortcut Ctrl + O to launch the open image dialog box in Windows and Command + O on macOS.

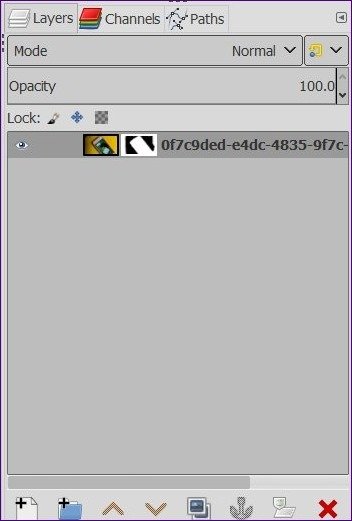
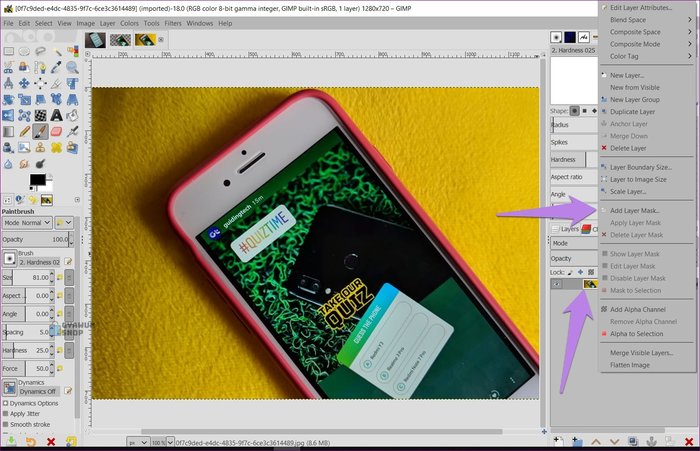
Step 2: Then, in the layer box, right-click on the image and select Add Layer Mask from the menu. Alternatively, go to Layer > Mask > Add Layer Mask in the top bar to add it.
Step 3: In the layer mask dialog box that appears, check White (full opacity) option.
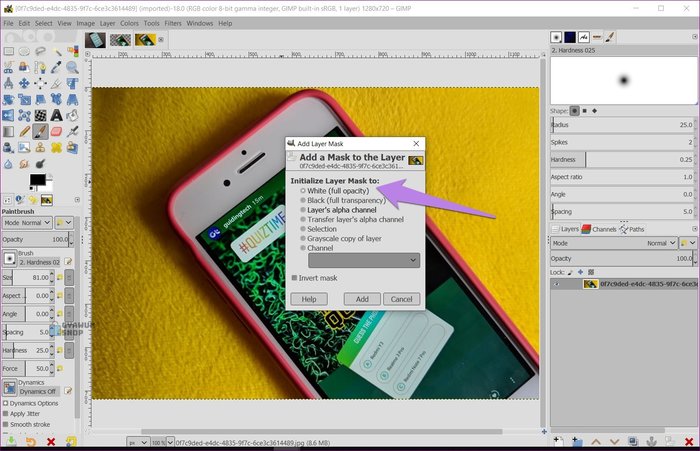
You will see that a small box filled with white color appears next to the thumbnail of your image in the layer box.

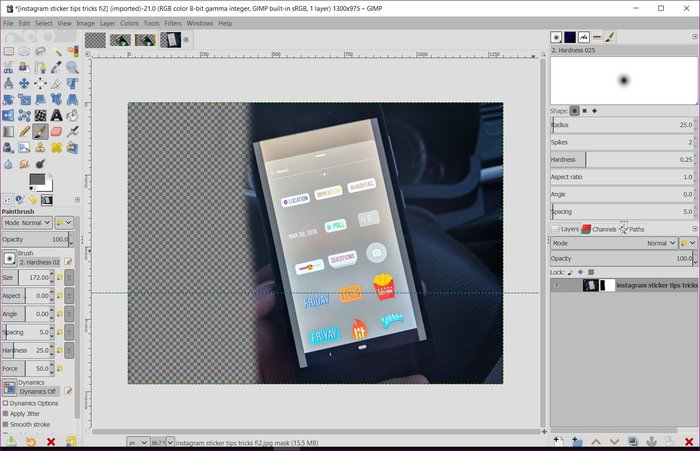
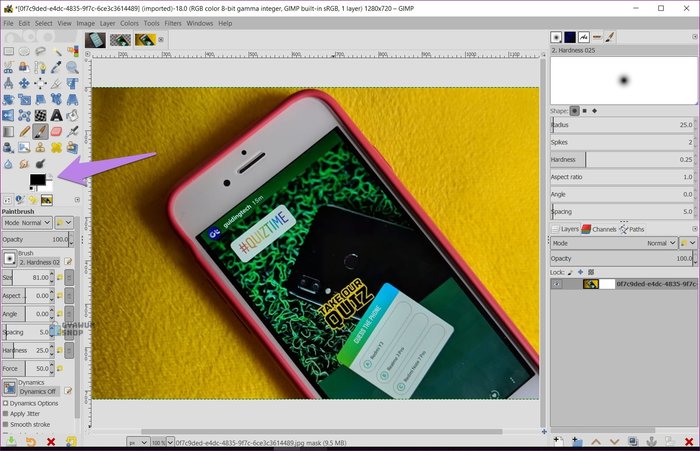
Step 4: Now that we have filled the layer mask with white, we need to use black color to remove the background. For that, keep the foreground color as black in the color box on the right side.
Tip: Press D to automatically make black as foreground and white as background colors respectively.
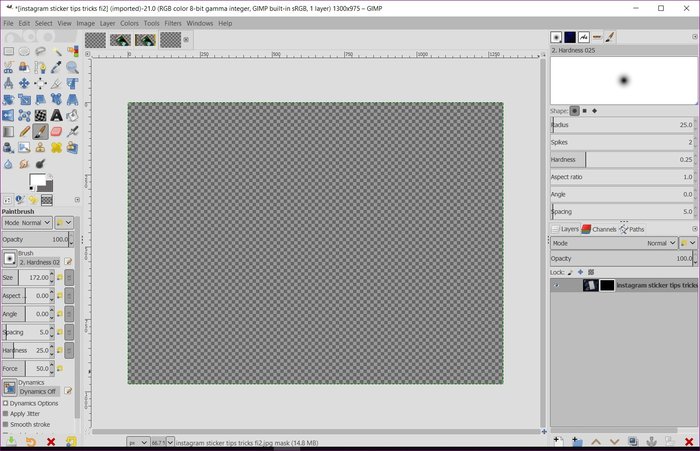
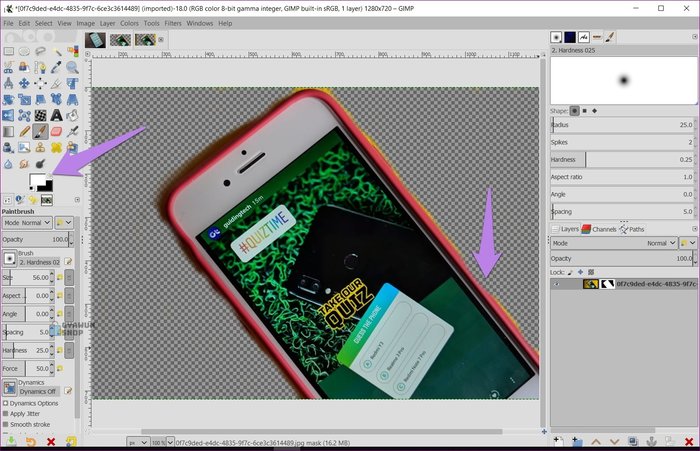
Step 5: Click on the paintbrush tool to activate it. Then color the areas that you want to remove. You will see that stroking the brush on the image removes the area. Apply brush strokes on the region that you want to make transparent.


Make sure the mask is activated when you start using the paintbrush on your image. For that, just click on the mask in the layer panel. It should have a white border around it. If the image is selected instead of the mask and you start drawing, you will see regular black color on your image.

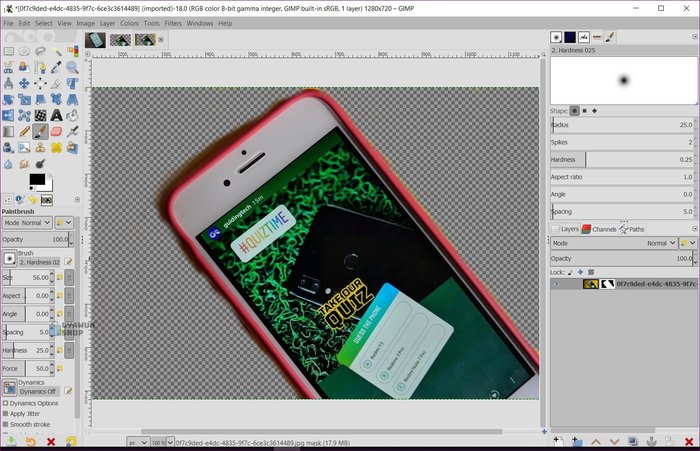
Step 6: At any point, if you make any mistake while removing the background, you don’t have to start from scratch. Just reverse the colors, i.e., make foreground color white and turn the background black. Then paint on the area that you want to bring back.
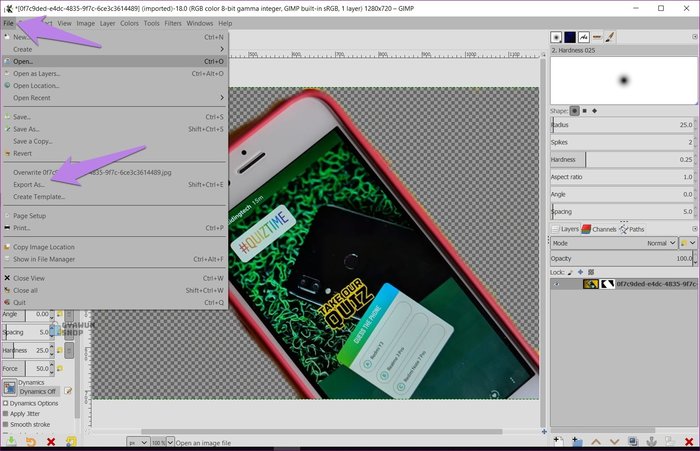
Step 7: Finally, to maintain the transparency of the photo, it’s essential to save the image as a PNG file. PNG is different from JPG as it keeps the transparency layer intact. That is, if you save the image in JPG or any other format instead of PNG, it will lose the transparency.
To save the image, click on the File option at the top and select Export As from it.Tip: Use the shortcut Shift + Ctrl + E (Windows) and Shift + Command + E (macOS) to open the export dialog box.
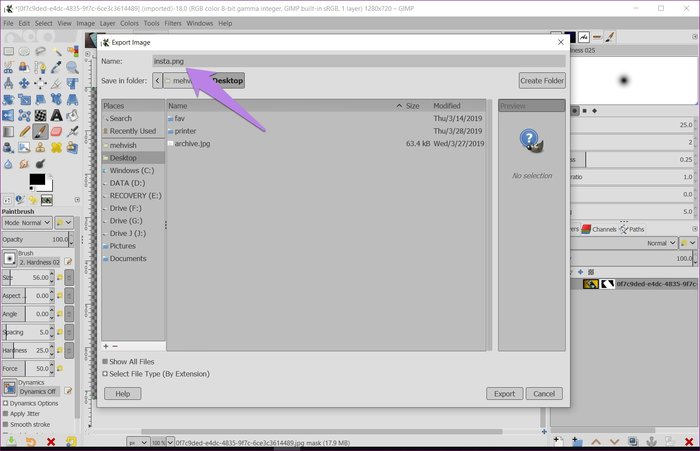
Navigate to the folder where you want to save the image. Make sure to keep the file extension as PNG.
Layef masks are helpful not only for removing the background, but you can use them for many other things. For starters, by making an image transparent, you can easily change its background. Further, you can apply an effect to a part of an image without affecting the entire image. Similarly, you can merge two images using them. Layer masks are also widely used for selective coloring.
Next up: Spruce up your text in GIMP by adding a tinge of shadow to it. Check our detailed guide for adding shadow to text using GIMP.
This article is written by MEHVISH and appeared here.
All the images are collected from here.