
There are a bunch of reasons to remove the background from a photo. You might just hate the background — a perfect portrait ruined by crowds, or ugly construction work, or both. You may want to remove the background in order to extract the subject — maybe you’re doing some kind of Photoshop trick, or making a greetings card.
Whatever your reasons, it’s easy to do. Removing the background from an image used to be a nightmare. Now, you just need the right app. And if you’re a regular with our Cult of Mac photo how-tos, you probably have that app already.
The bad old days
In the olden days, you’d have to remove backgrounds manually. You could use Photoshop’s auto-select tools to get close, but that’s when the real work started. Years ago I designed a book about cellphones, and I had a whole folder full of Photoshop actions to help me chop phones out of their various publicity shots.
These days you just pick a photo, and move a couple of sliders.
Depth mode makes background removal easy
If you’re removing a background, it’s likely that the photo is a portrait. And if the photo is a portrait, it’s likely that you took it in Portrait Mode. And that means that the photo is already separated into foreground and background. Portrait Mode saves a depth map of the image. On the iPhone XS and XR, it also saves a Portrait Matte, which is a highly detailed mask that includes individual hairs.
To separate the background from the foreground, then, you just need to find an app that will read these depth and portrait maps, and let you use them for editing.
Enter Focus. Again
My preferred app for all things depth-related is Focos. We’ve covered it before (see the links at the end of this post for those articles), because it does so much.
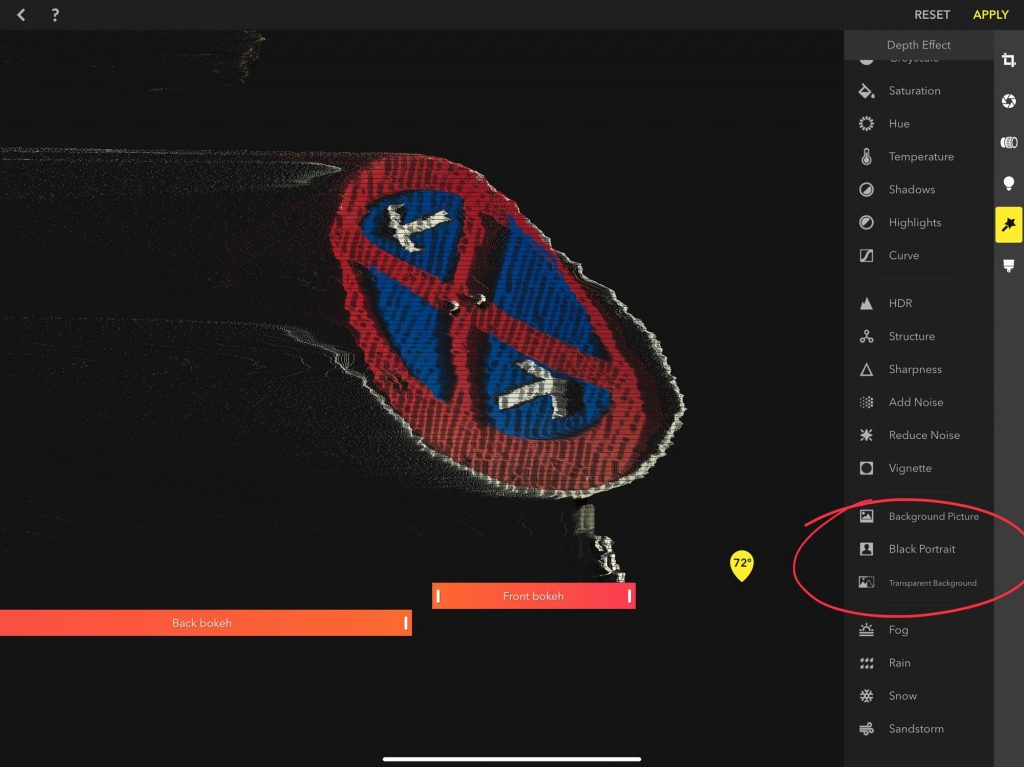
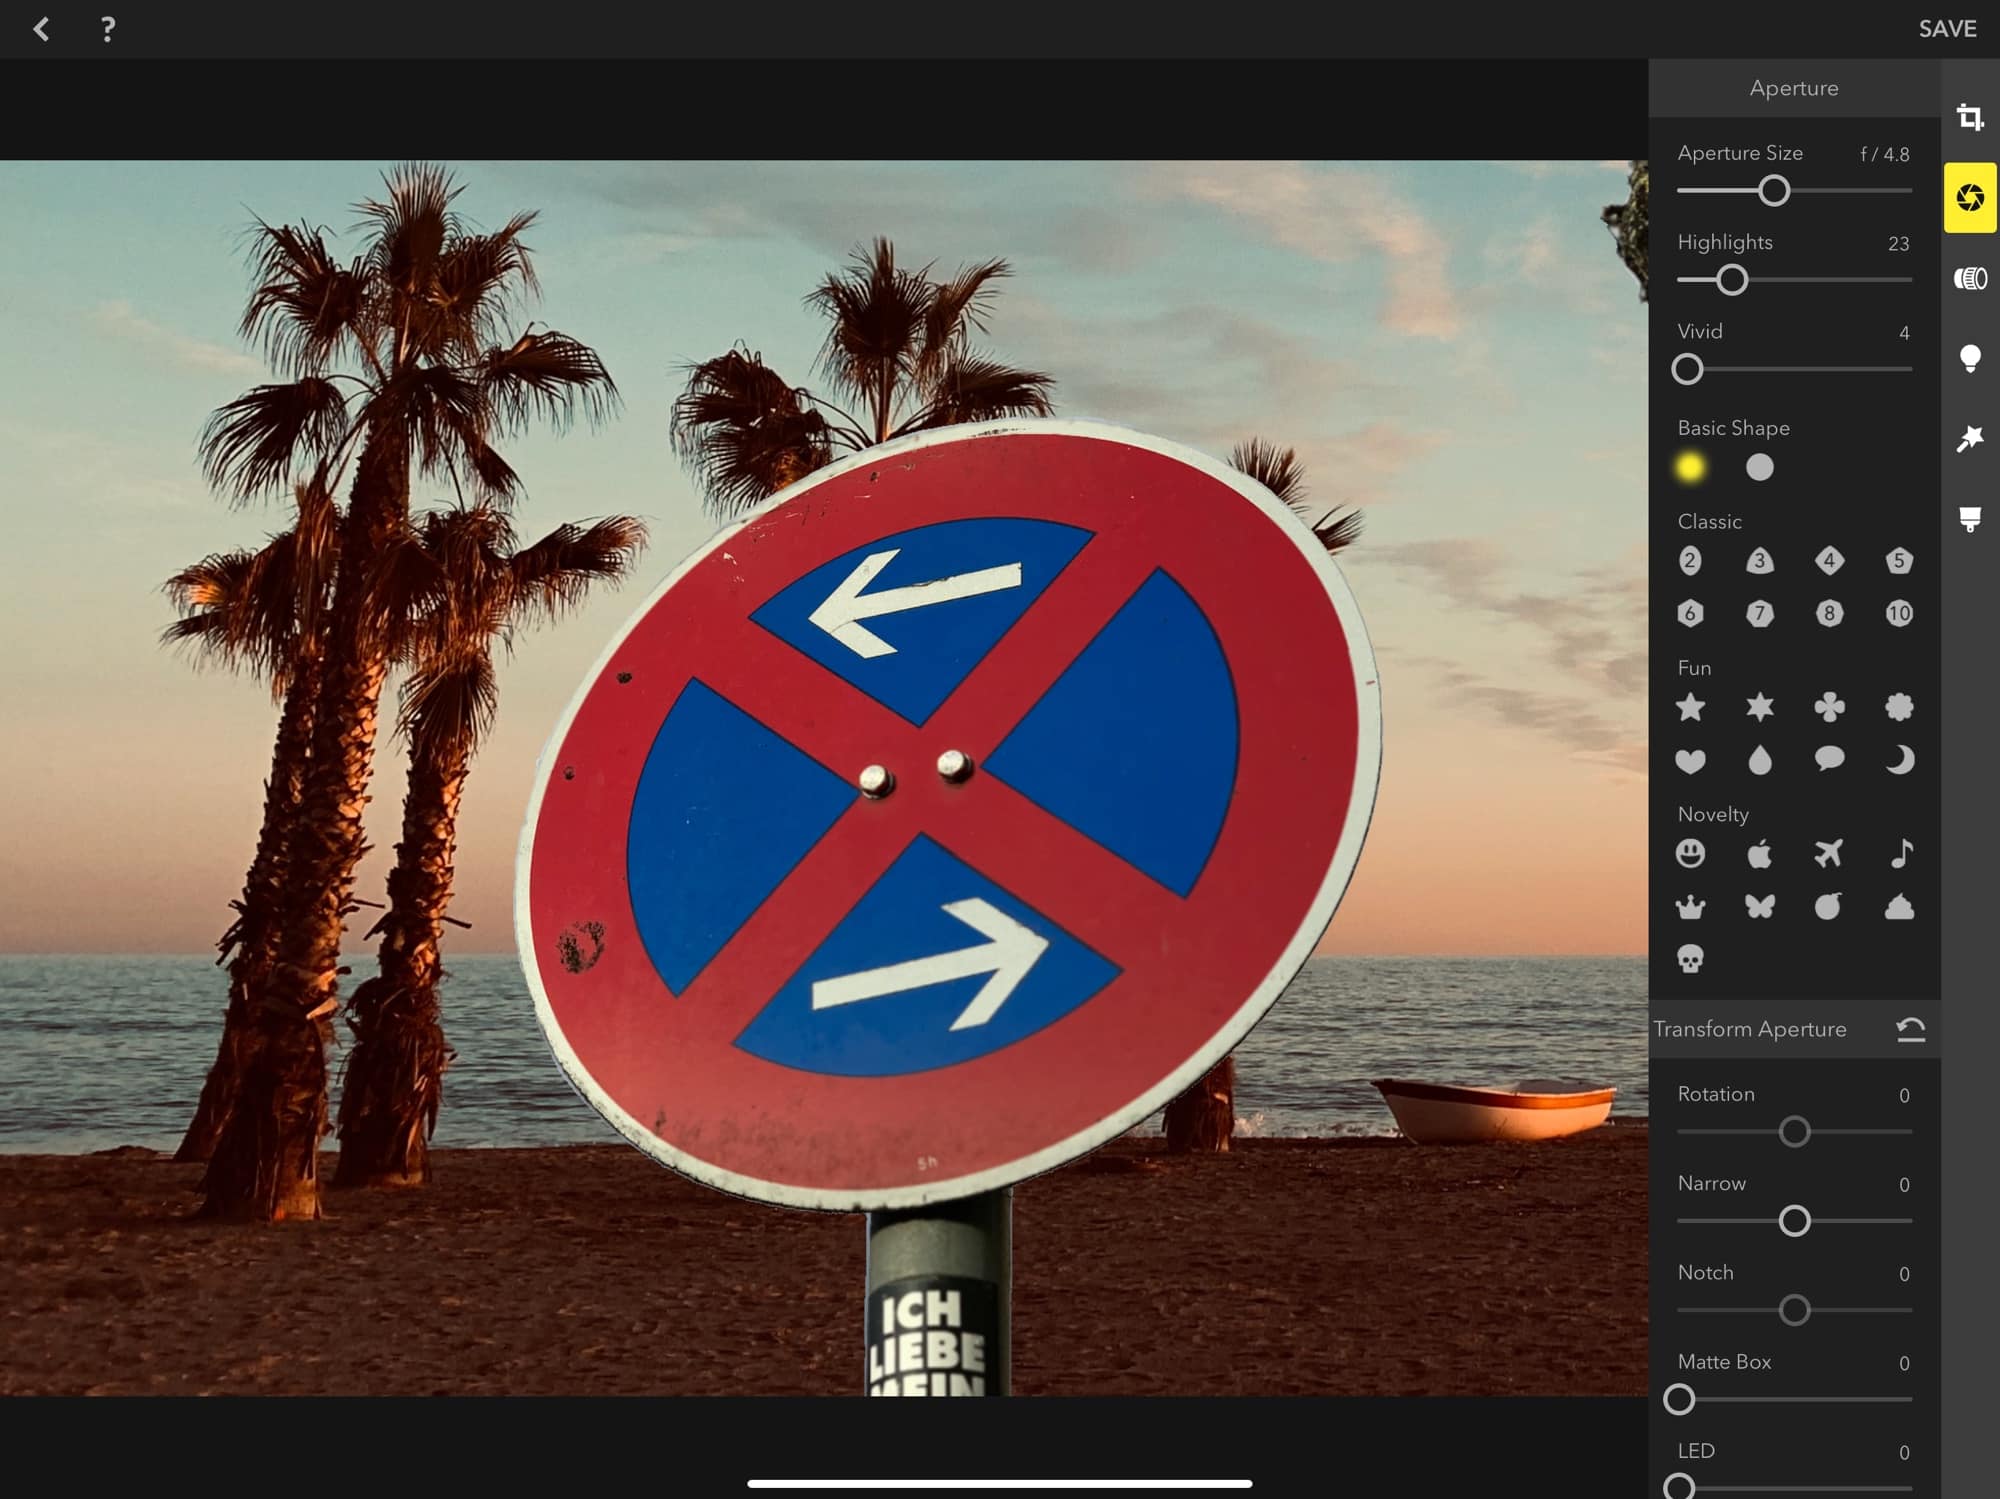
Open up Focos, load an image, and tap the Depth Effect button in the sidebar. It’s the magic-wand icon. In this section, you have three choices: black background, transparent background, and a background picture. Let’s try the background picture. Tap it, and load up the image you want to use for the background.
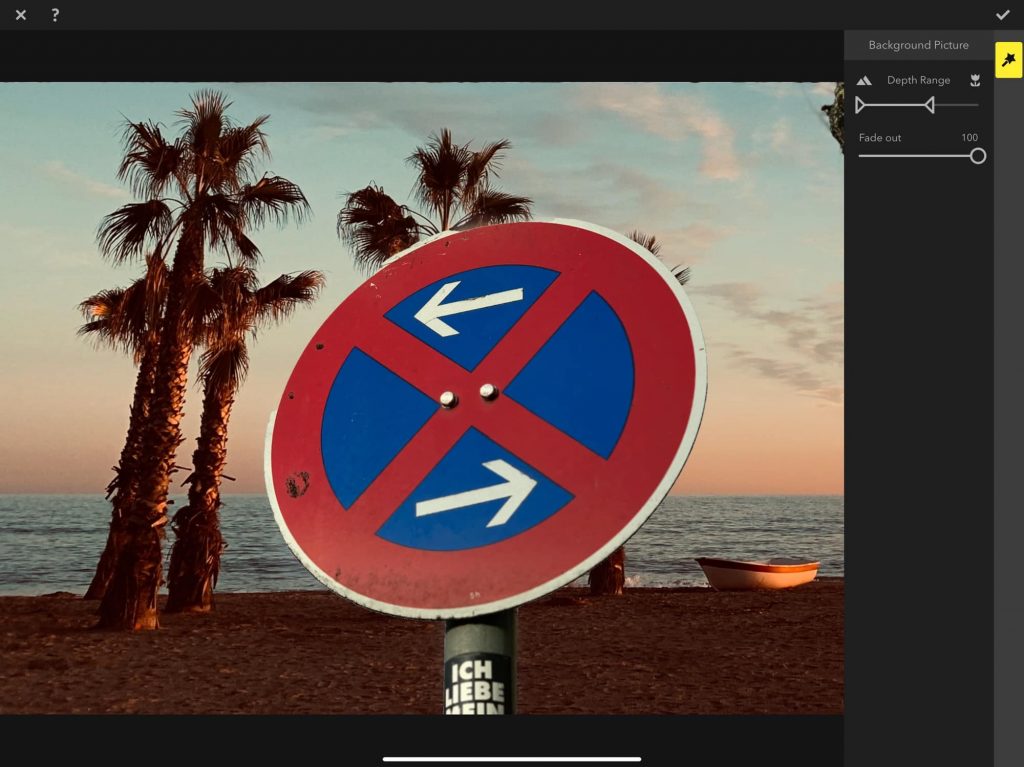
Then, just move these sliders to choose how much of the background you want to remove. The accuracy of this removal is based on the depth map captured by the Camera app, but you can finagle that mask using the paintbrush tools in Focos. And if you’re using a portrait of a person, then the accuracy of the cutout should be a lot higher to begin with.
Try it. Focos is free, and does way more than just background removal
All the photos are taken by Cult of Mac
This article is collected from here.