Product photography is a visual merchandising that is done online. If you take the time to set up your products and lighting properly, you will create beautiful images that will accurately portray your product. Here are the 5 easy tips for eCommerce retailers on product photography. To learn more about all of the essential photography equipment required for shooting great product photography, keep on reading.
1. Background is Important
In general, a plain white background looks best and it is the go-to look for selling products. The plain background keeps the buyer’s attention on your product. There are no distractions or extra information that can detract from the quality of your product.
Original by Pexelz and edited by ImageEditing
However, if you are looking to create a unique look, consider using a black background. Moreover, think of including a light background to create separation.
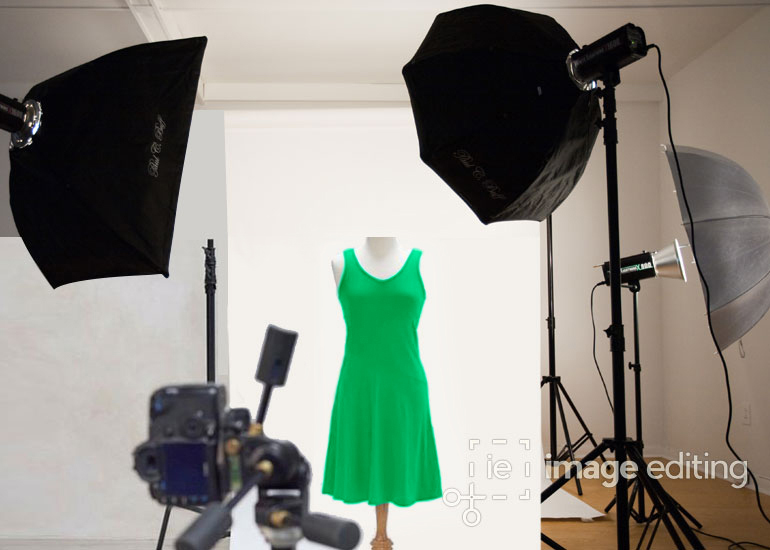
2. Lights Arrangement
The trick while arranging lights is to arrange the lights at the same level as your product. In this way, it will create shadow details which help to accentuate textures. At the same time, it is important to keep the shadows to a minimum.
Original by Pexelz and edited by ImageEditing
You are not looking to create product photography with heavy dark shadows that hide the beauty of your product. The trick is to balance the amount of shadow needed to show all the textures of your product.
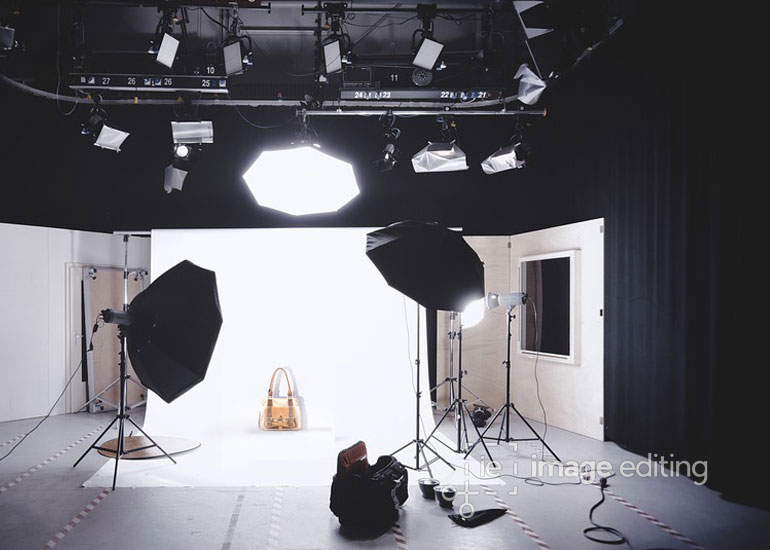
3. More Images, the Better
Show off your product. This is probably one of the most important tips on how to take your product photos. Keep your lighting the same but move your camera around and take multiple shots from multiple angles.

Original by Pexelz and edited by ImageEditing
Take shots of the front, side and back of the product. Then get creative and shoot from overhead. Finally, do not forget to take close up detail shots that show the all the complex details and special features of your product.
4. Edit Your Results
After you have finished shooting and the camera-work is done, it is time for editing product photos. Post processing gives you the opportunity to clean up and improve your photos. Even if you made a small mistake when taking your picture, the right software can help you edit product photos with perfect results.
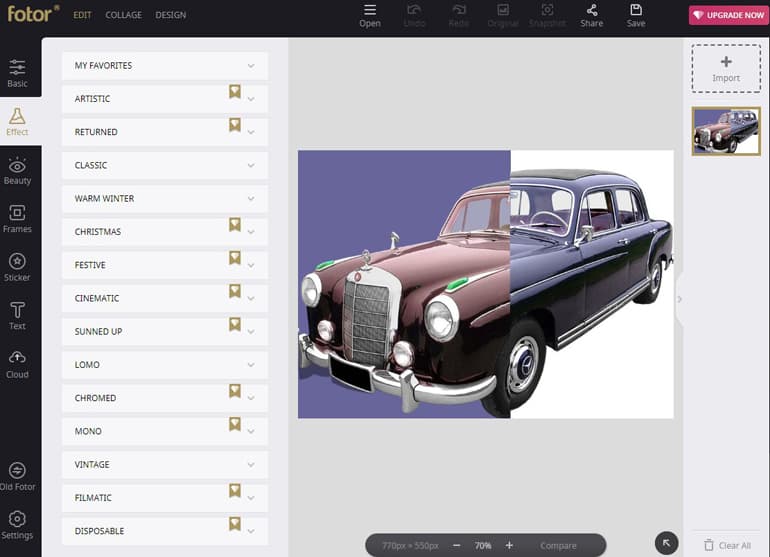
Original by Pixabay and edited in Fotor
RAW files give you more flexibility when editing. Edit with Adobe Photoshop or Adobe Lightroom if you can. Otherwise, you can use free software like ‘Fotor’ or ‘Befunky’ to do the editing task.
5. Be Consistent
Take your time and be patient, do not rush. It is important to be consistent in the look you want to create because it will help your website stand out. For a professional eCommerce site you must have consistency across your photos. All products should be shot on the same backgrounds (or at least backgrounds that feel the same), with the same lighting and the same cropping.
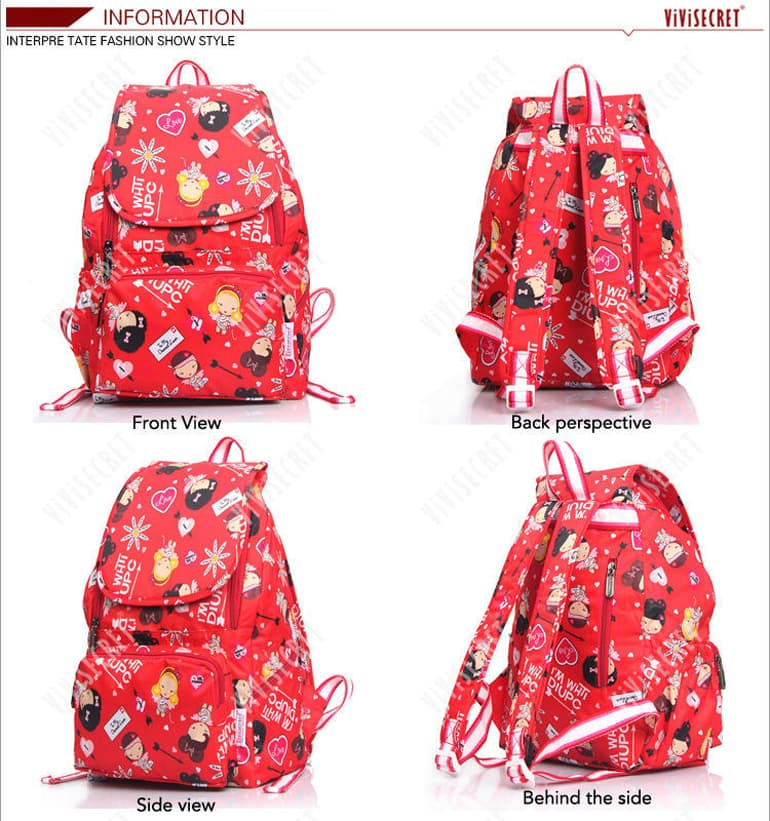
Image Courtesy – Alibaba
Finally, stay consistent and use the same lens for each product you photograph. Not only does it make the store look more polished and professional but also it helps in comparing products.
The best way to master photography is simply by practicing. Keep tweaking until you are happy with the results. Take these 5 handy tips and get started photographing your product. Take your great images and make them amazing.