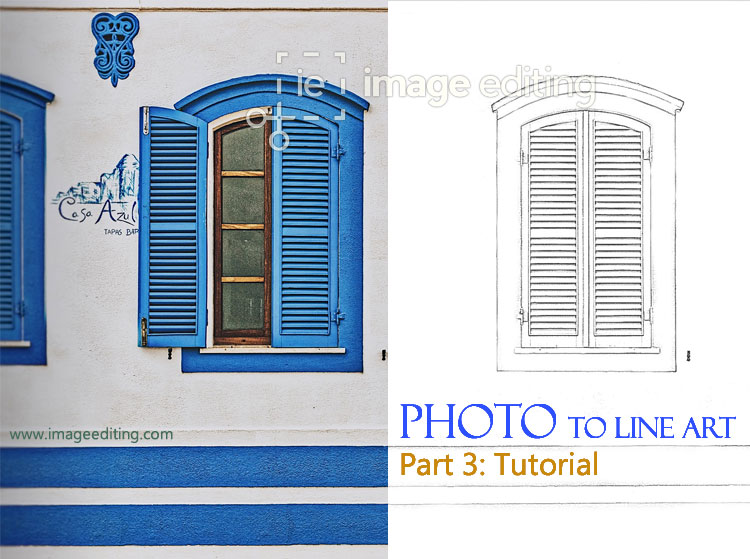
Welcome to the last post of the series Photo to Line Art. In our first two posts we have seen examples of photo to line art and their uses . In this third installment we will learn how to convert a photo into a line art drawing in Photoshop on our own. Generally, you can use this quick technique to convert your photo for fun.

Photo Courtesy Pixabay
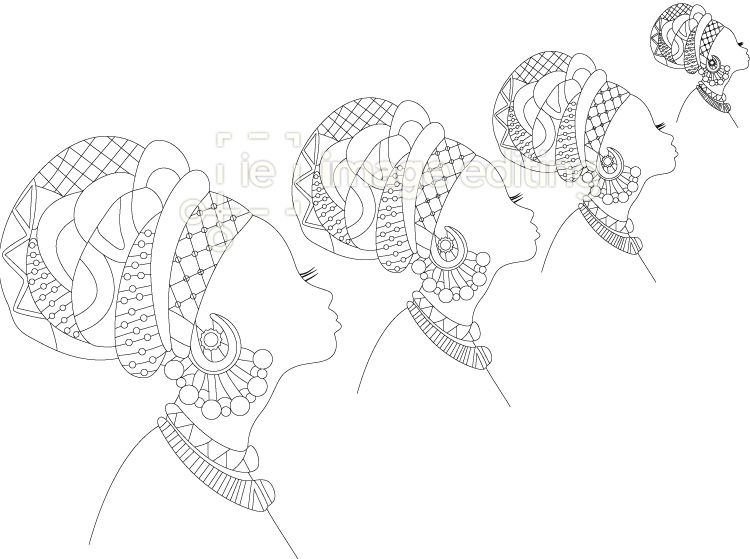
It is very easy to convert a line art from an image and the workflow is not that hard. Let’s look into how to take the above image and turn it into like the image below.
So the first thing to do is go ahead and double click on your layer and then double click on it to unlock that layer and then click Ok. Duplicate the layer by clicking on the right side of your mouse and select duplicate layer or you can simply press Ctrl+J for Windows or Command+J for Mac. Rename the layer with any name you want to give it or let’s just say Line Art copy and then click Ok.
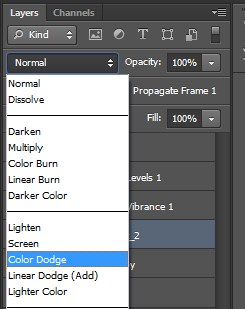
Once you have your two layers you want to select your topmost layer and change the color mode to Color Dodge.
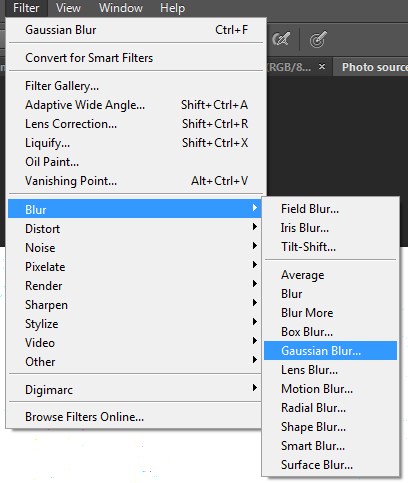
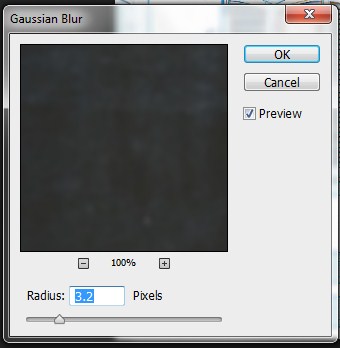
Then press Command + I for Mac or Ctrl + I for Windows to invert the image. Well, keep in your mind, you have to do it while selecting the layer name Line Art copy. Next you go up to menu bar Filter and select Blur and then change it to Gaussian Blur.
The image after this step is beginning to take the shape of a sketch. As you have might notice there are still remains of the color present in the image. To keep the detail of the image adjusts the radius according to the need of the picture. Go ahead and experiment with it a little, it’s easy.
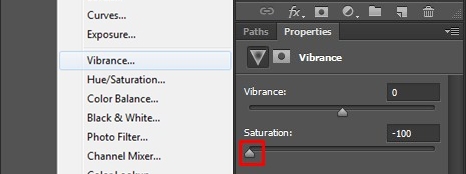
The process is yet not complete. We want to change the image looks like the photo to line drawn image. To achieve this go ahead and click on the Create new fill or adjustment layer then select the Vibrance. On opening the panel moves the slider of Saturation to zero.
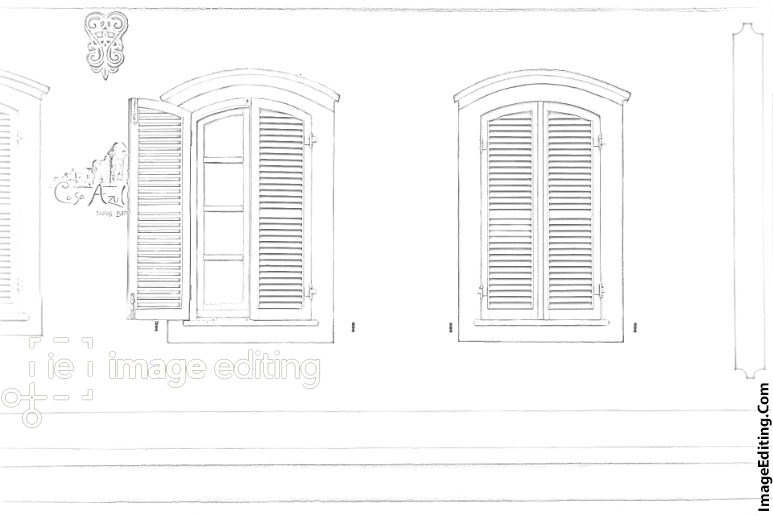
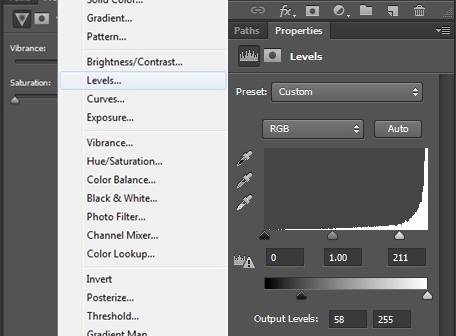
One last thing we want to implement within the photo is that, on selecting Create new fill or adjustment layer again we will select Levels this time. Increase its black value by moving the slider to the right. If you have to adjust the white value a little, then do it to get the right contrast.
We are at the end of our tutorial. Oh! one last thing, to match all the layers press Ctrl + Shift + Alt + e. If you see any unwanted stain on the image then by using the brush tool you can delete those as we have done it. Voila! You have your photo to line art.
Cheat Sheet:
Duplicate layer: Ctrl J
Change the color mode to Color Dodge
Convert the Image -> Ctrl I
Filter-Blur- Gaussian Blur -> adjust the radius
Create new fill or adjustment layer –> Vibrance -> drag the saturation to zero.
Create new fill or adjustment layer ->Level -> adjust the black and white slider
Press ctrl + shift + alt + e.
With all being said, this simple technique is easy to do and fun to try.
But it comes with the scale limitation constrain. The converted image will start to lose it’s quality once you enlarge it further. Expert work involves creating a path around the selected image. This is a necessary step to create a vector to line art. You can add more or less details according to your need using this advance technique. This need a lot more time, dedication and hard work. You have to do it manually with patience hand. Unlike the above example of photo to line art image, proper line art vector can be used in numerous ways and is easily customized. You can stretch it or shrink it. The vector graphic is always top quality. To get this quality of work you can delve into learning path or take help from experts who are involve in handling this sort of work regularly. You can check out one example of such quality from us, ImageEditing.
You can see the different use of photo to line art in our previous articles from this series here.