
In this blog post I will show you the correct way to quickly apply your text to a curve in Adobe Photoshop CC, in 5 simple steps:
- Step 1: Create an image
- Step 2: Draw your path
- Step 3: Place your text
- Step 4: Change font and size
- Step 5: Reposition
Above are two ways to curve your text. The first is adding your text to a path (this is the method we will be using). The 2nd example here uses the “Warp Text” effect. This is very quick, but it produces warped results that give a clip art type feel. I would typically advise against using this method.
Step 1 – Choose an image
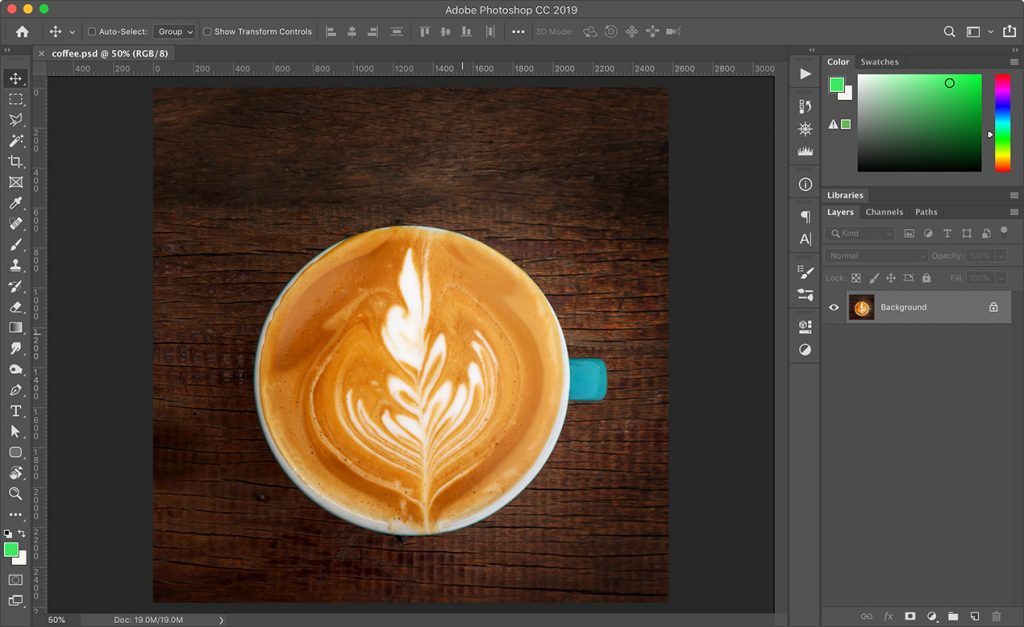
First, find an appropriate image or graphic you wish to use for your curved text & open it in Adobe Photoshop. Here I’ve chosen a top view image of a coffee cup, which will work well with text on a circular path.
Step 2 – Draw your path
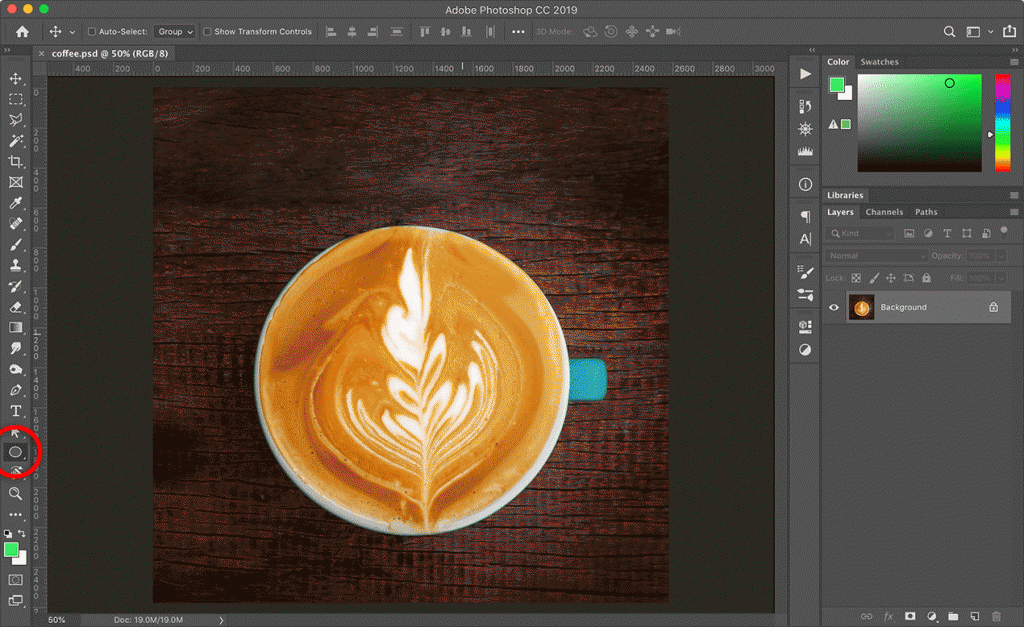
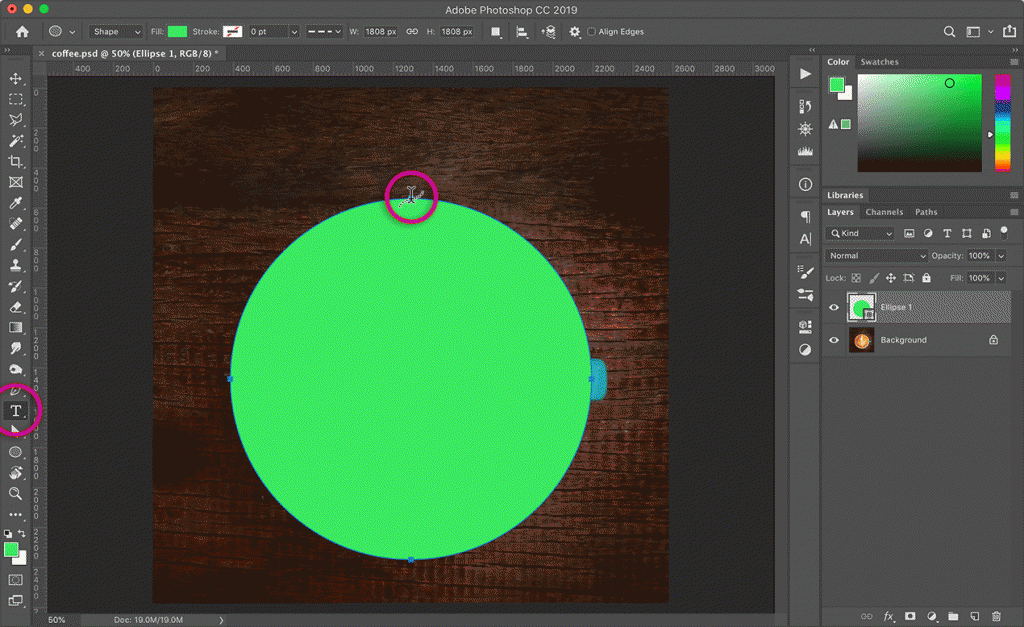
Select the ellipse tool from the left hand tool bar. Then, simply draw the shape over your image as you see fit. You can scale or reposition this if needed. Depending on your image, you may wish to use a different shape, or draw a curved path yourself using the pen tool. Our example simply requires a circle.
Step 3 – Place your text
Now you have your shape, select the type tool from the left-hand toolbar and move the cursor over your path. You will notice the cursor change. Click on the path and placeholder text will appear on your path. You can now turn off your shape layer for a better view of your design.
I would also like to point out that our text is centre-aligned. If your text is left or right-aligned it will start from the point that you clicked on your path. This can always be repositioned later using the direct selection tool.
Step 4 – changing font & size
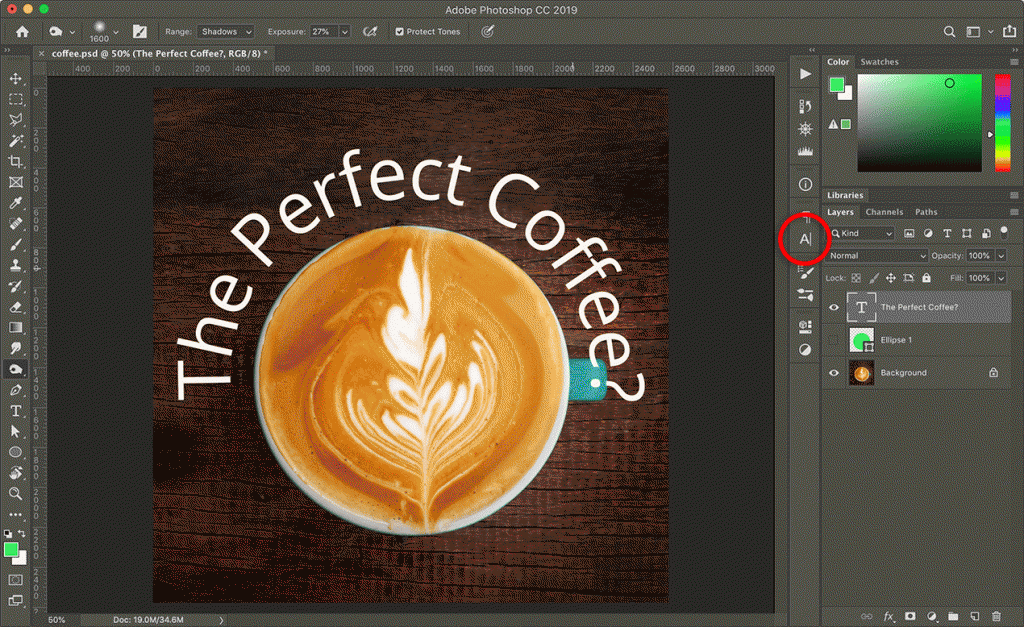
Change your placeholder text to your desired message. Our example shows “The Perfect Coffee?”. Now in the character panel, you can change your font, size and character tracking.
With our chosen font – “mission script” – it was important to adjust the character tracking to bring the characters closer together as with the text being on the curve (and with the handwritten style of the font) the joints didn’t meet up correctly. This will vary depending on your chose font, path shape & text size so feel free to play around with the options here.
Step 5 – Repositioning

Our design is now finished, with our text nicely curved along our path. If your design needs further tweaking, I should point out the direct selection tool. With your type layer selected, click on the direct selection tool. You can now drag your text to reposition it on your path. You can also click on you your path & edit the shape if needed.
This article is written by evoluted.net and appeared here
All the images are collected from here.